Refurbishment > WW1 M16 Helmet Refurbishment
WW1 M16 Helmet Refurbishment:
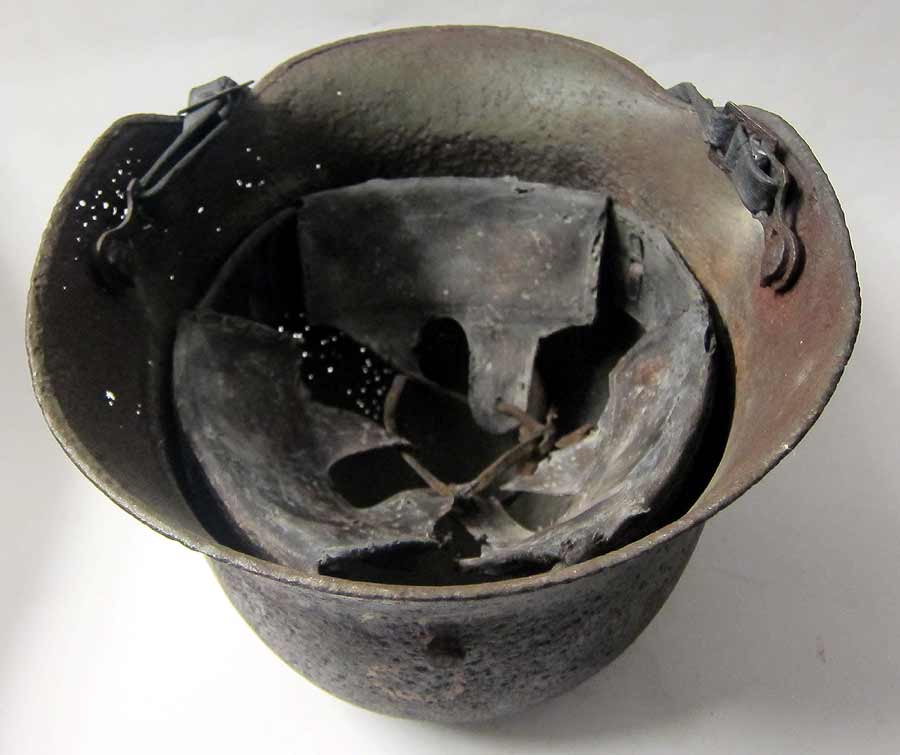
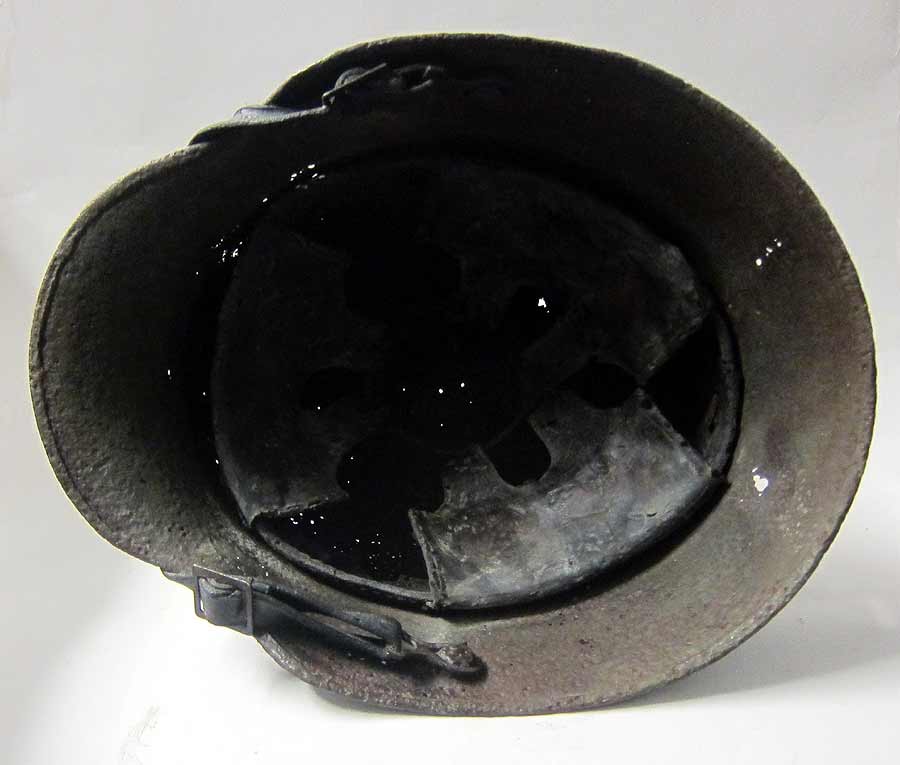
This helmet was originally filled with car body filler and repainted in the typical WWI jagged edge multi colour splinter camouflage scheme. The inside was also painted light grey. The customer stripped off most of the paint on the outside and some of the grey around the rim on the inside. This is how we received it.

WW1 Helmet as delivered - with filler
|

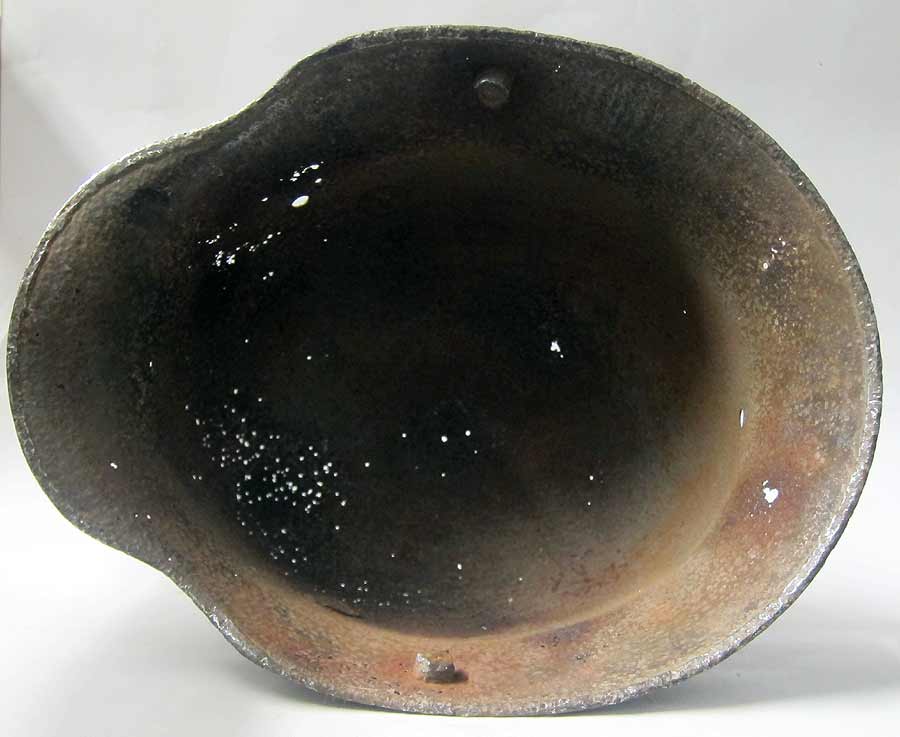
WWI Helmet inside as delivered - grey paint & filler
|
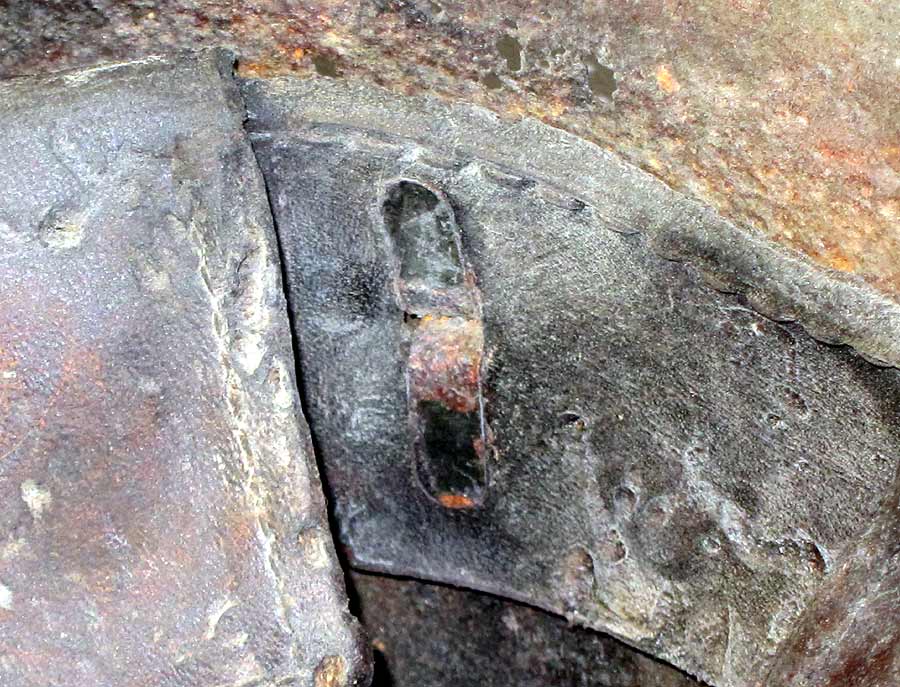
20/Nov/2012: We stripped off the remaining paint. The remaining problem was the car body filler. We could not sand blast it as this would not take the filler out of all the small holes and would flatten down the pitted edges too much. We used a new technique to remove the filler as advised by our friendly museum restorer and this worked extremely well, but too an extremely long time - 5 hours.
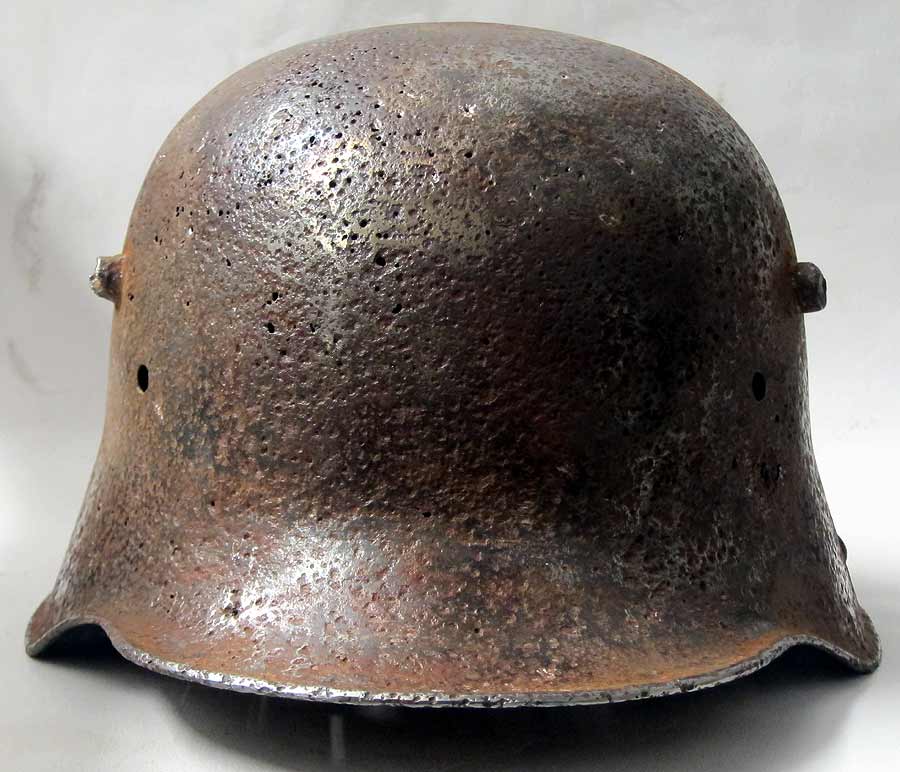
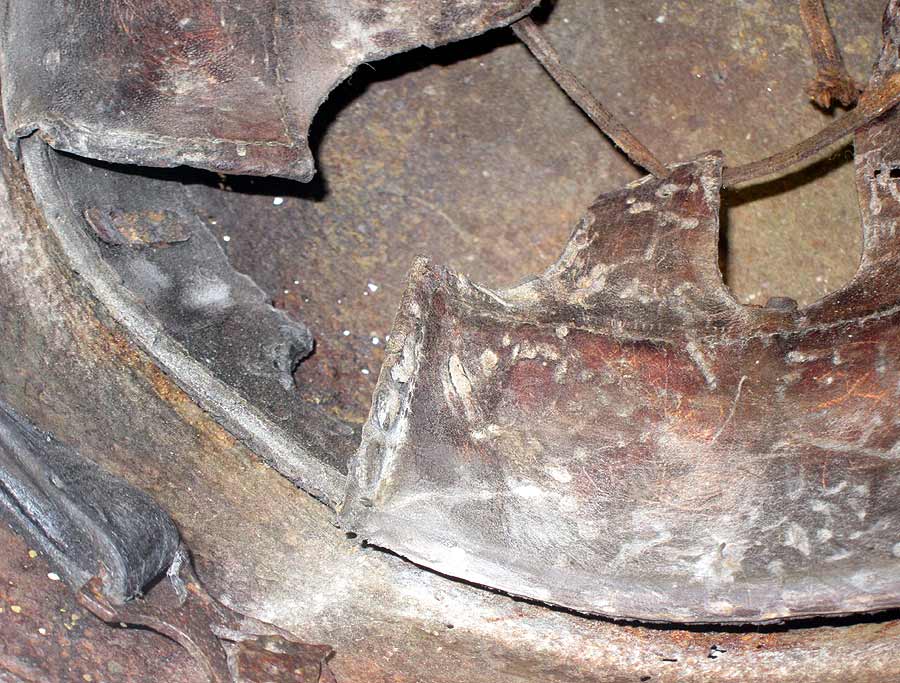
Notice the numerous small holes in the shell, the shell is still extremely strong and this is a step closer to how it would have looked after coming out of the ground prior to it being incorrectly refurbished.
Notice the numerous small holes in the shell, the shell is still extremely strong and this is a step closer to how it would have looked after coming out of the ground prior to it being incorrectly refurbished.

WW1 M17 Helmet - Stripped
|
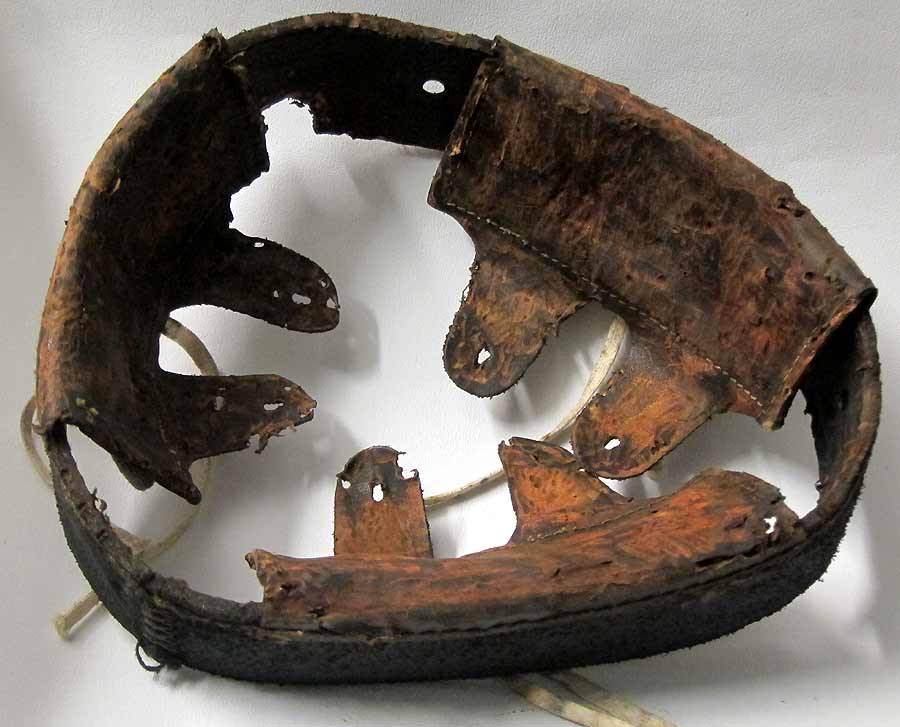
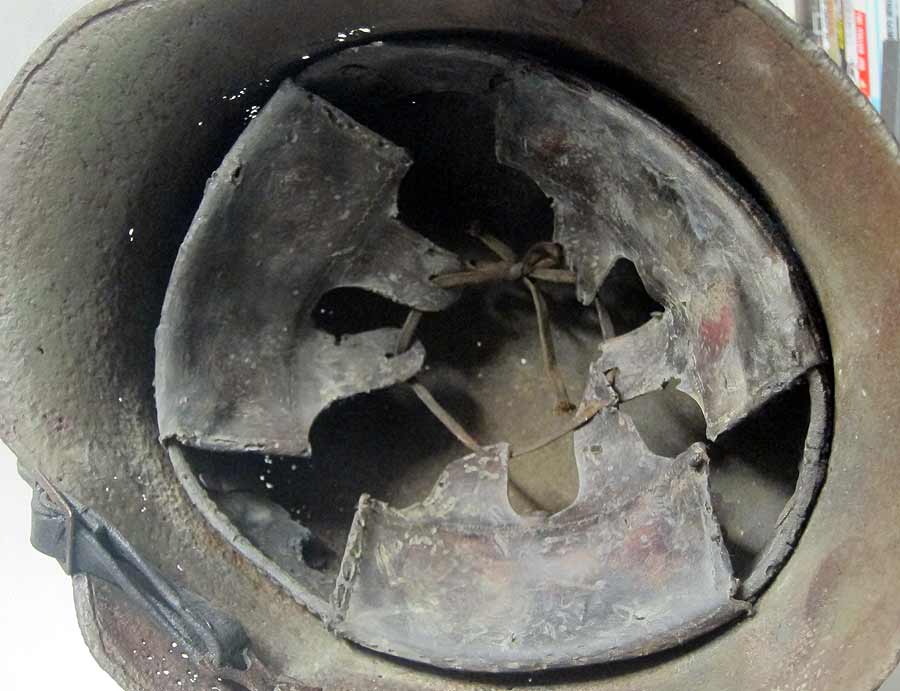
WW1 M17 Helmet Inside Notice the previously filled holes.
|
WW1 M17 Helmet Looking more like the way it was found.
|
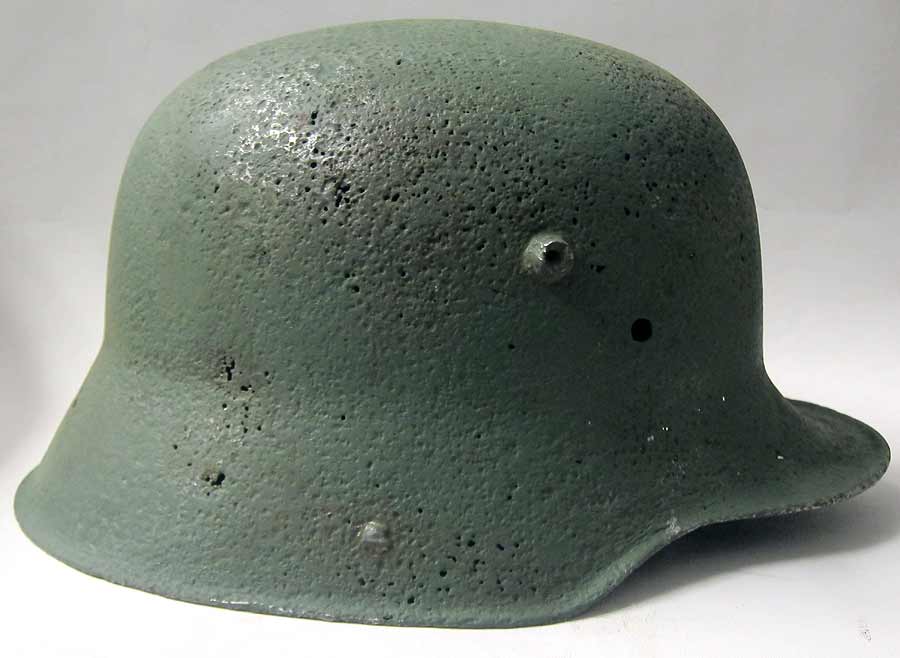
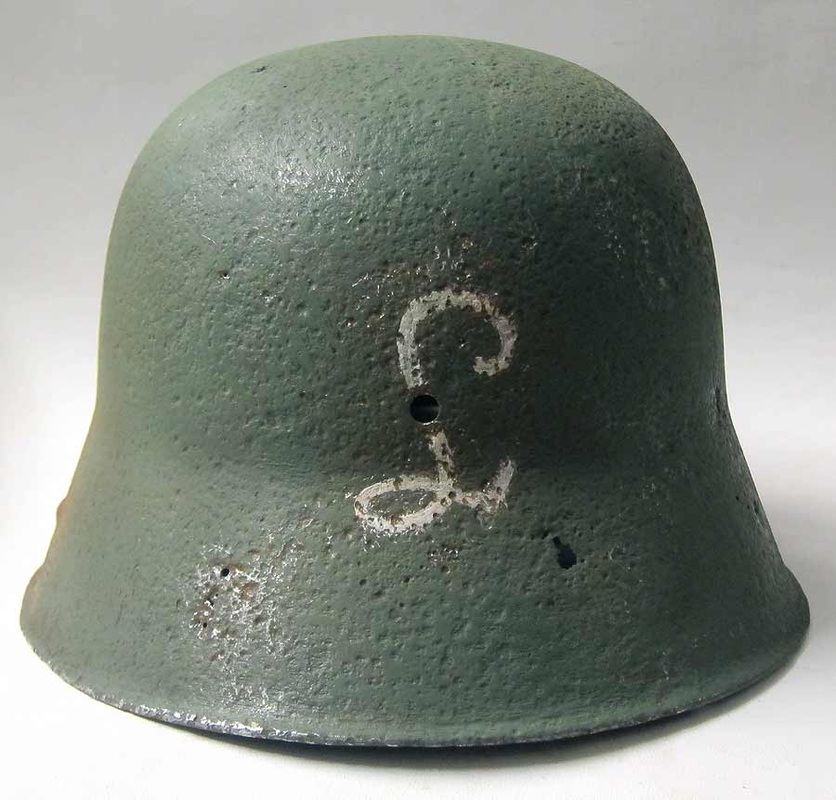
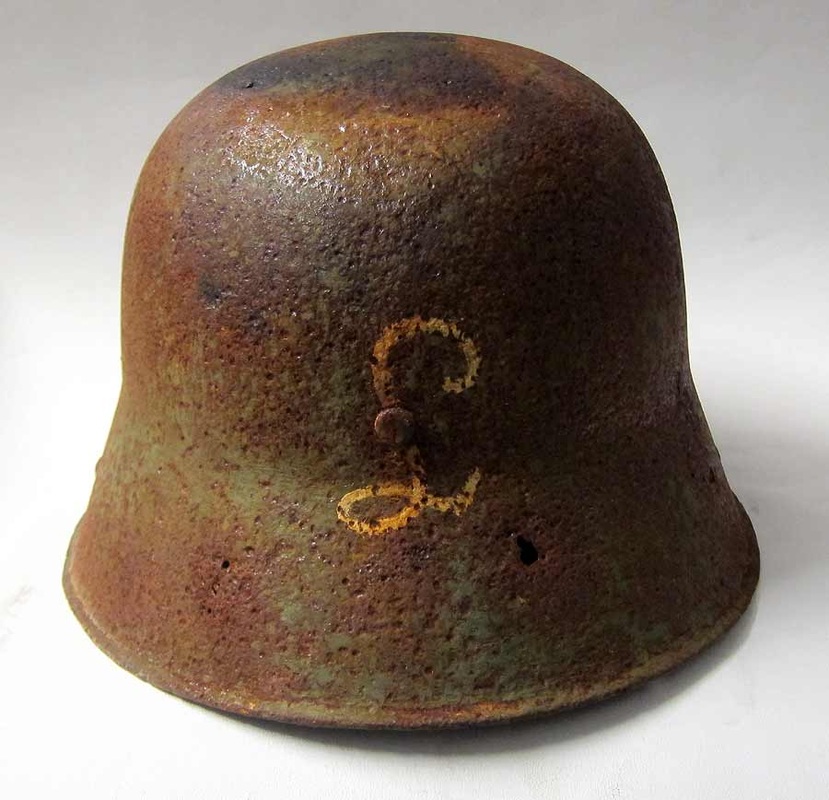
21/Nov/2012: The helmet has been repainted in original Dark Green colour. We gave the helmet a coating of material which prevents the paint sticking to the indented rust areas. This does not always work well so we have to go over it and remove all the paint from the rust indents. We also painted stencils on it for the Leibkompanie of the 1st Foot Guard Regiment.
Notice in the left hand picture below we have removed approximately 1/3 of the paint in the rust holes with the rest to do. The middle picture shows the right side but without any paint removed from the rust holes. The right hand pictures shows the 'L' for the 'Leibkompanie' with some paint removed from the holes.
Notice in the left hand picture below we have removed approximately 1/3 of the paint in the rust holes with the rest to do. The middle picture shows the right side but without any paint removed from the rust holes. The right hand pictures shows the 'L' for the 'Leibkompanie' with some paint removed from the holes.
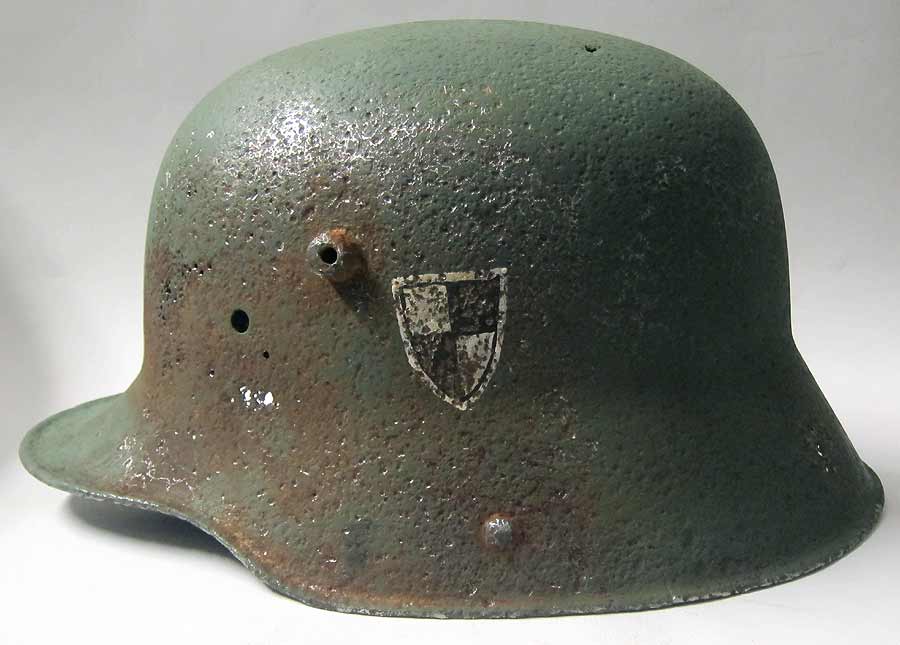
M16 - Leibkompanie 1st Foot Guard Regiment.
|
Leibkompanie of the 1st Foot Guard Regiment M16
|
Leibkompanie Stencil - Rear of Helmet
|
22/Nov/2012: The museum quality liner and chinstrap in brand new condition in the left hand picture. The challenge will be to make the liner and chinstrap look as if it was always associated with this helmet and of course to do that it has to look pretty aged and worn. The two other pictures show a first pass through of ageing the liner - a lot of work to do here still. Notice we have not aged the cloth padding retainers or straps yet.
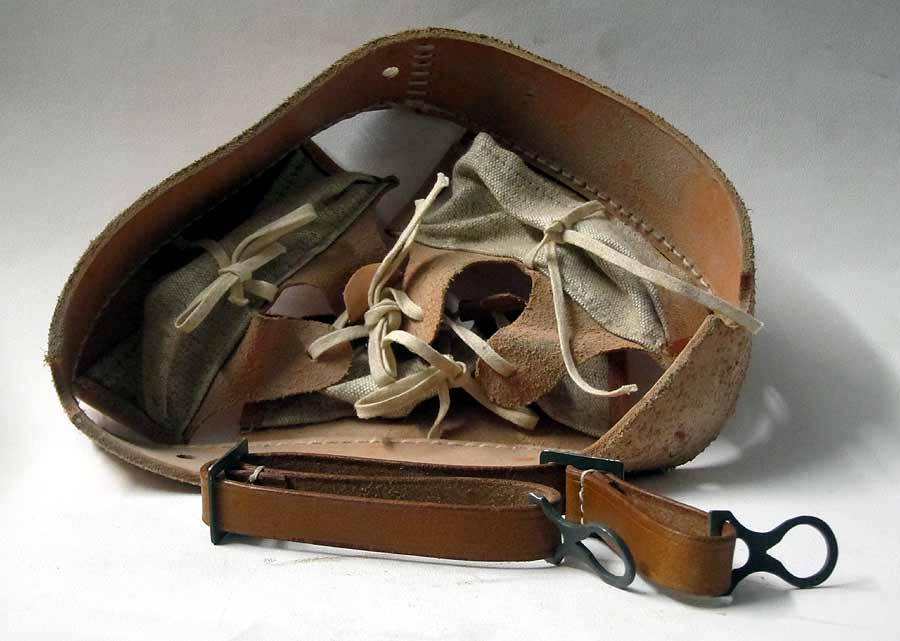
German WW1 M16 Helmet Liner
|

German M16 Liner 1st pass ageing
|

German M16 Liner 1st pass ageing - pads and straps untouched
|
27/Nov/2012: Chinstrap has had a first pass ageing (of many). The liner has had a second pass of ageing, this becomes darker with the ageing process it will have to be done again to bring out many of the scratches and worn areas that effectively disappear during further ageing. The liner pins have been sanded down around the edges to fit in with the worn and rusted vent holes, although this is a bit difficult to see from the picture. The challenge will be to make the liner, pins and chinstrap look naturally associated with the very rusted and worn helmet.
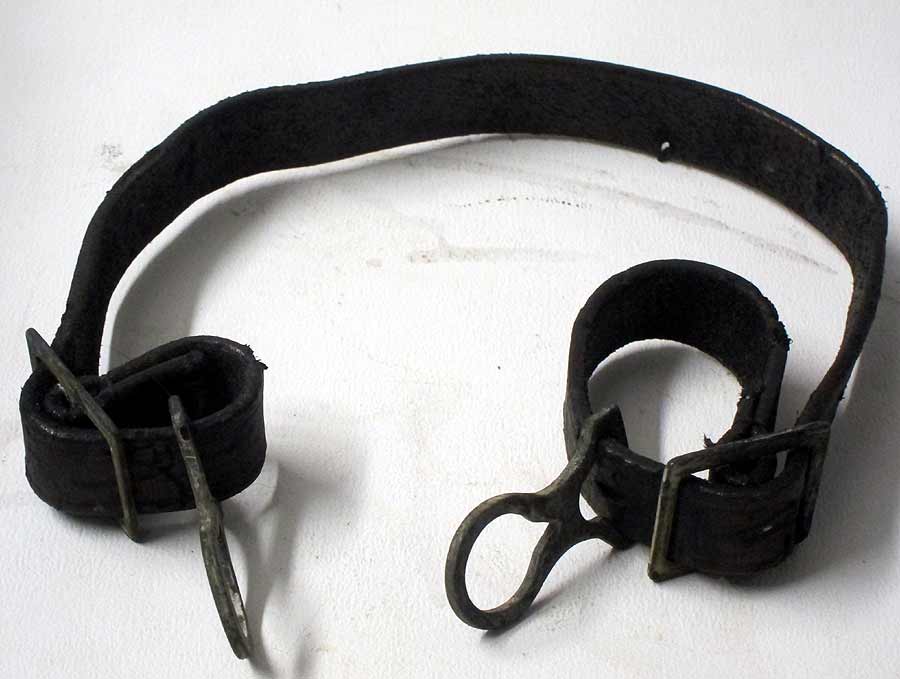
WW1 Chin Strap lightly aged
|
WW1 M16 Liner
|
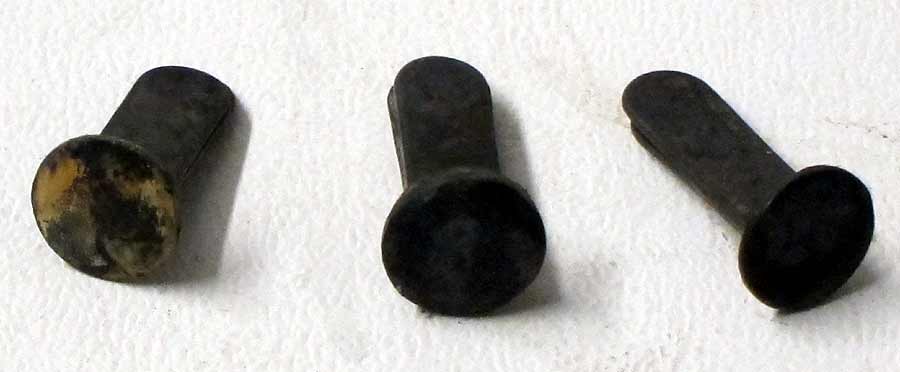
WW1 liner attachment Bolts
|
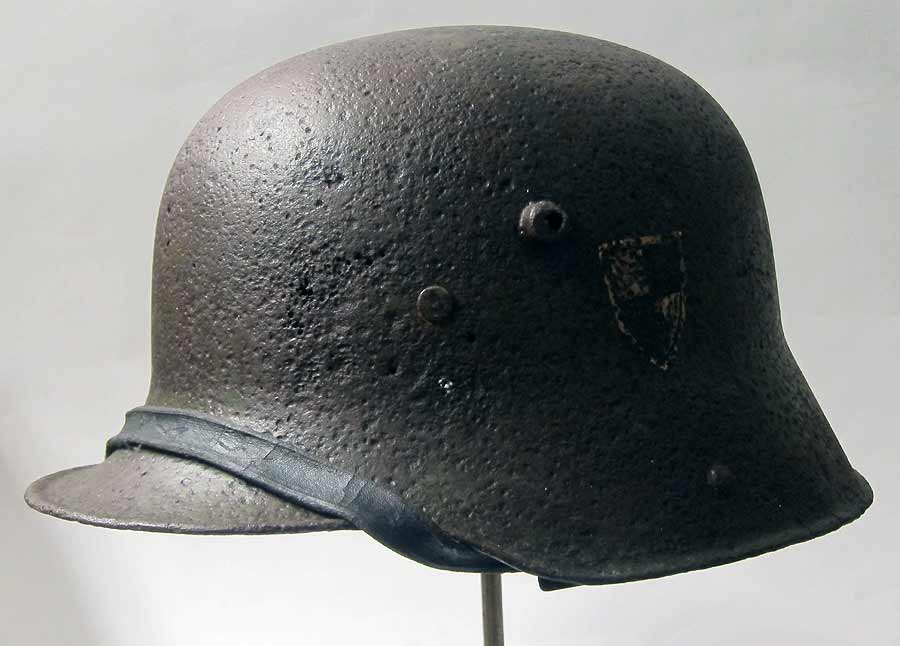
20/Dec/2012: The helmet is now starting to take on the look it would have been found in. With lots of rust and patches of original paint showing through. The rust is too 'orange' yet and this is a give away that an item has been recently 'rusted'. This will be darkened at a later stage. The liner too still needs more ageing in particular the liner cotton threads and the chinstrap.
WW1 Helmet with Rusting
|
WWI helmet side view with stencil
|
Close up of 1st Foot Guard stencil.
|
Liner - still a lot of ageing to complete.
|
Leibkompanie Stencil and rear of helmet
|
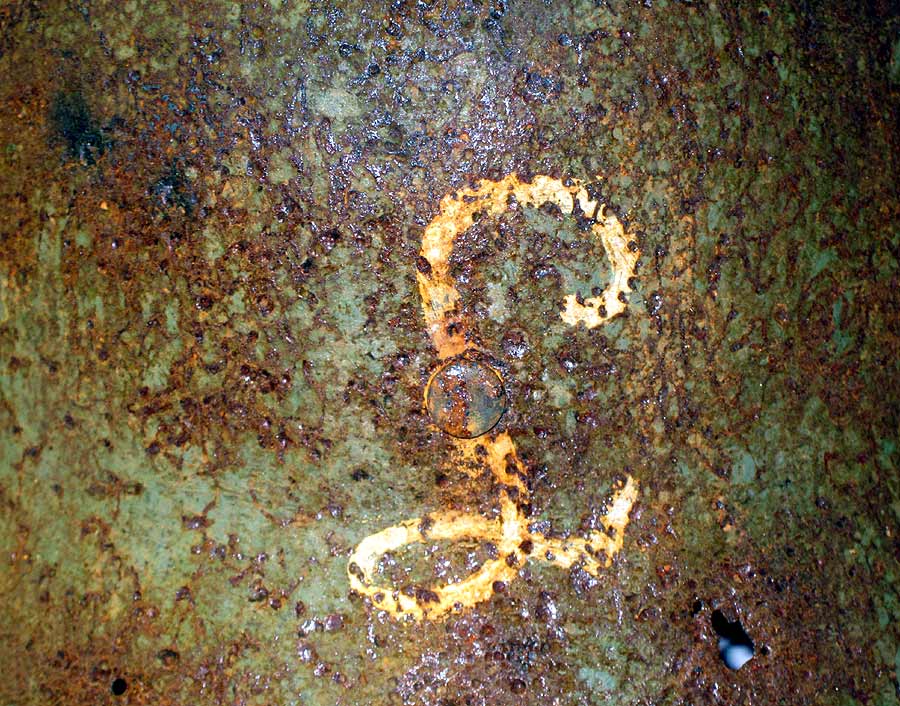
Close up of Leibkompanie Stencil
|
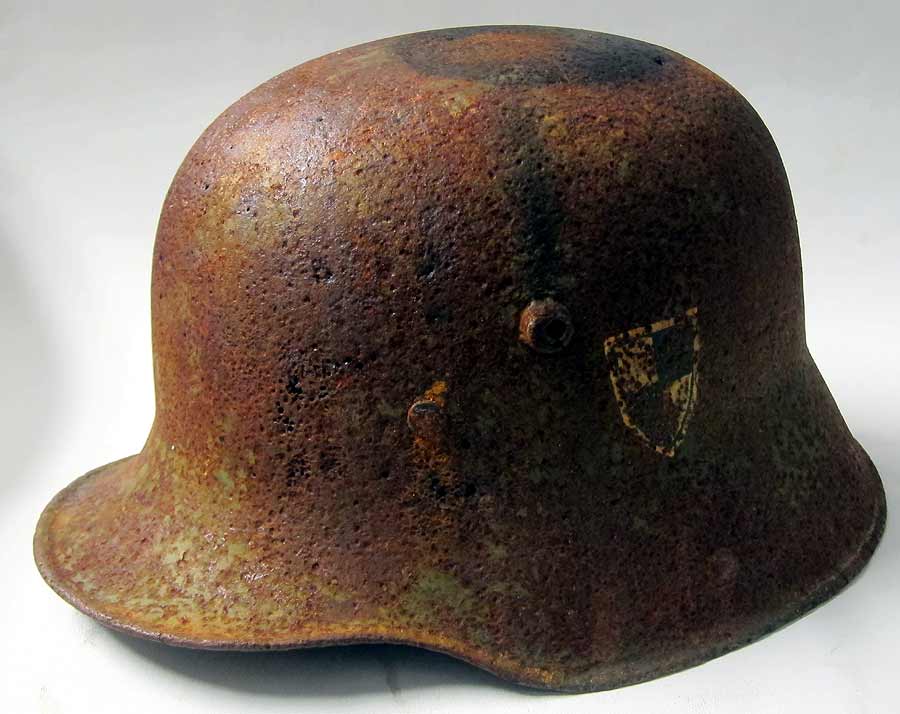
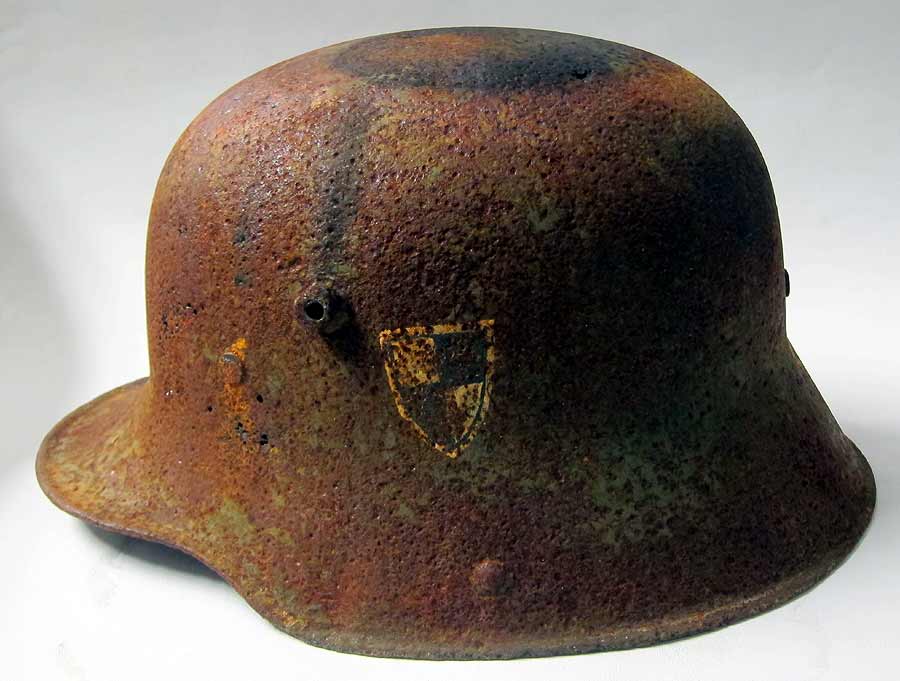
31/Dec/2012: The helmet is now fully completed. The light rust has been darkened and the helmet has been given a protective 'shine' to reflect several years of furniture spray. The stencils have a lovely dark yellow patina and the liner has been fully aged. The chinstrap is cracking in places and is very delicate - just like an original in this state.
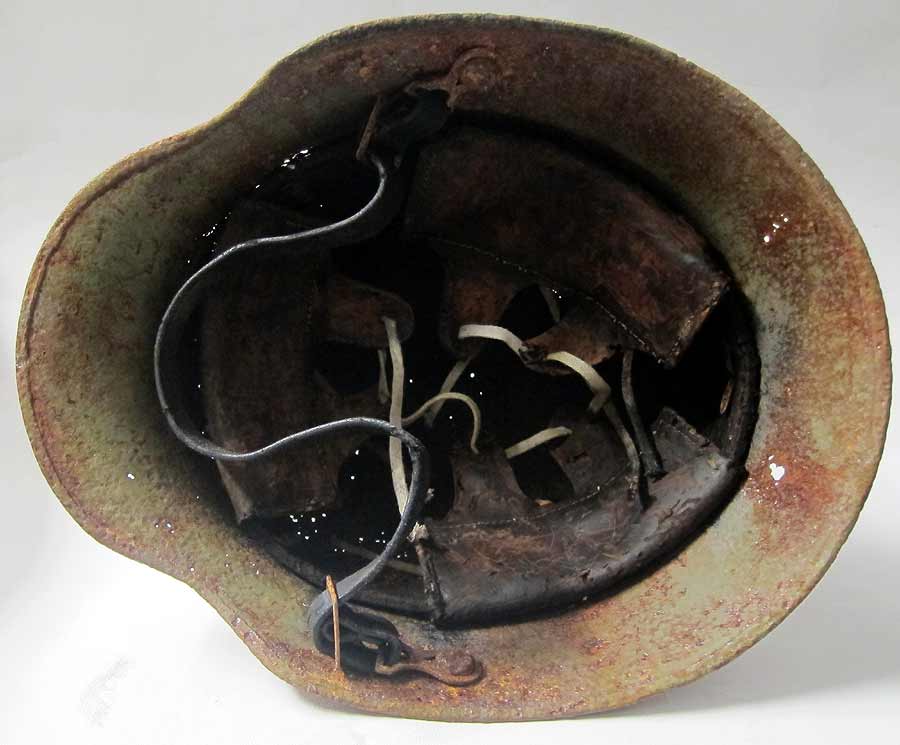
Inside of restored helmet
|
Left side showing stencil
|
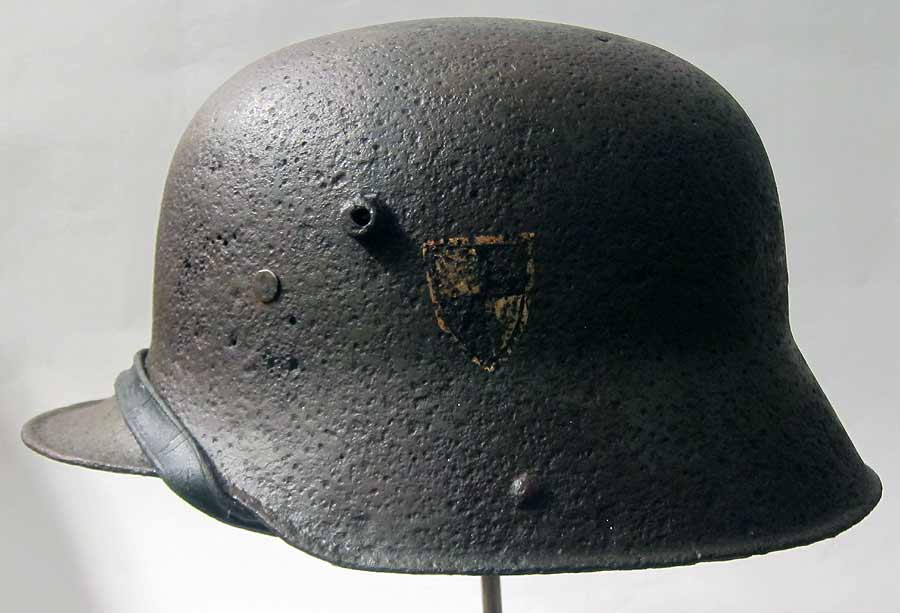
Front view Stencil
|
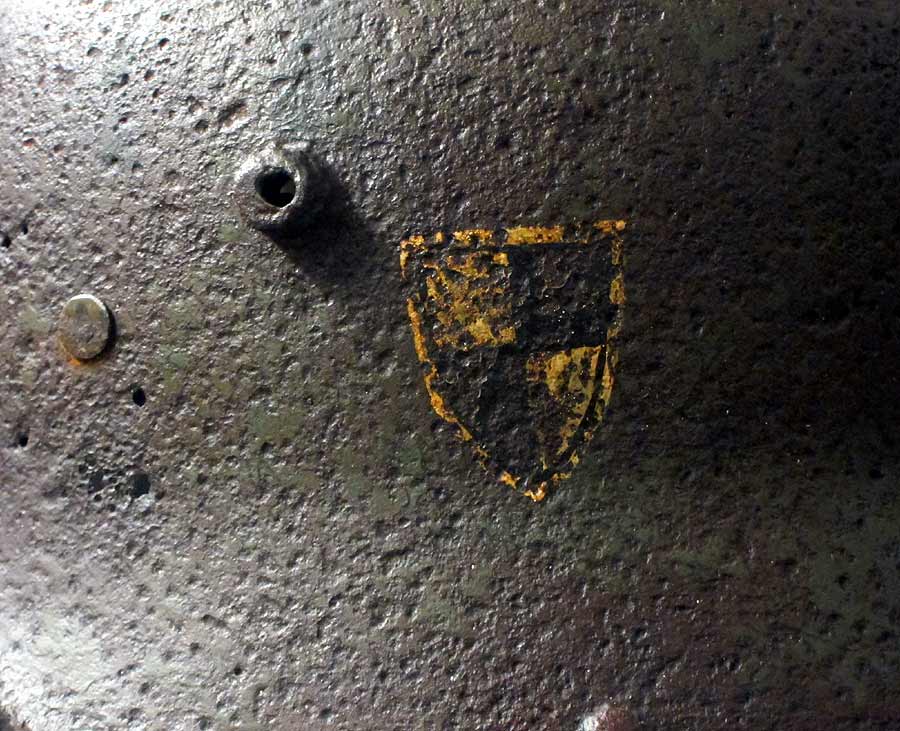
Close up of 1st Foot Guard stencil
|
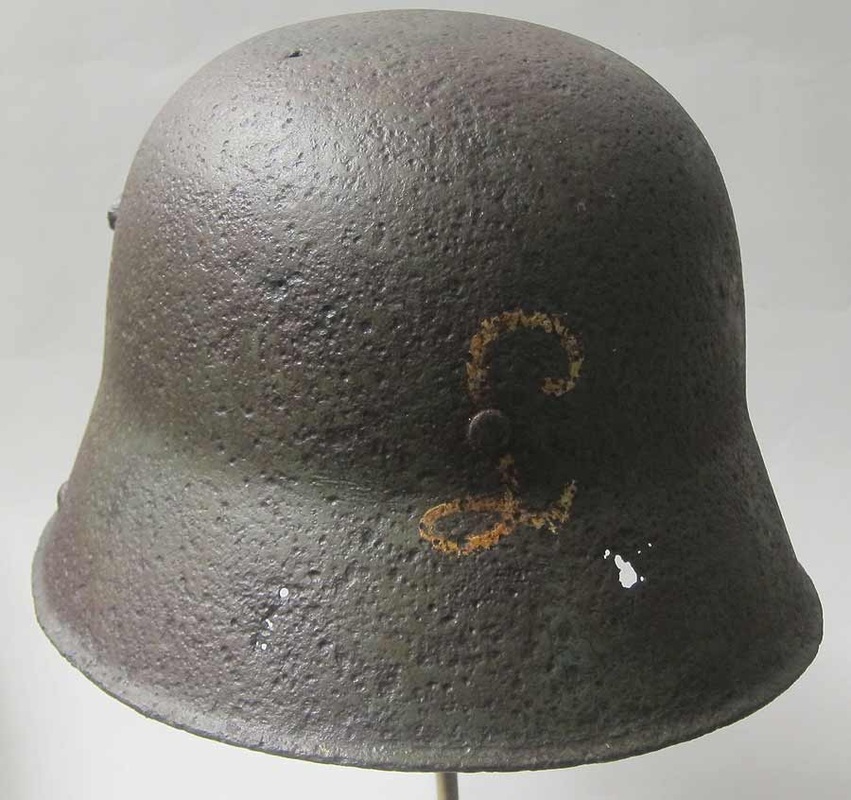
rear view of helmet & stencil
|
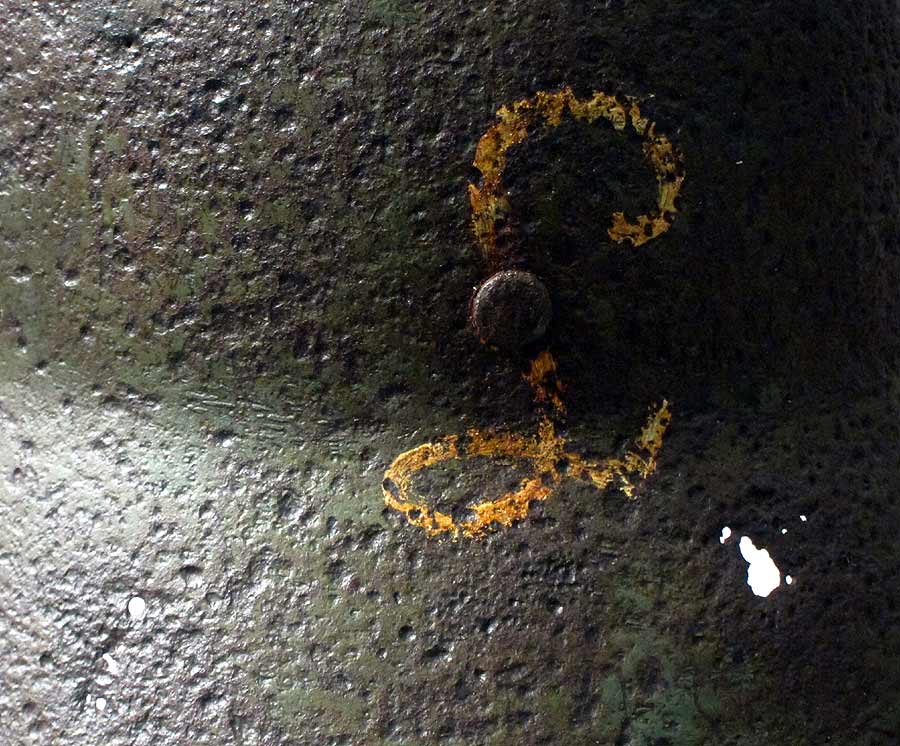
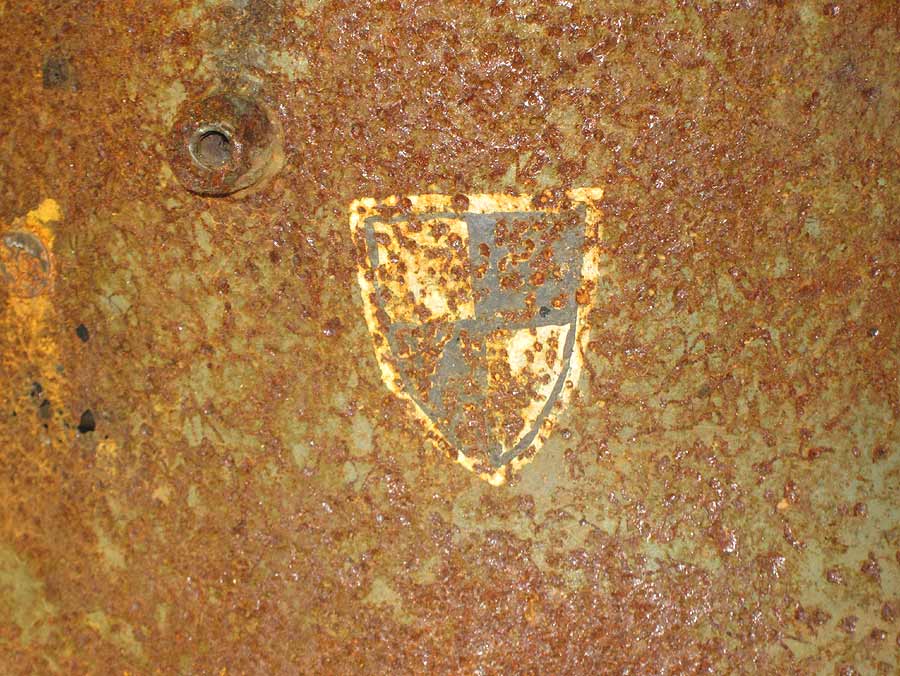
close up of Leibkompanie Stencil
|
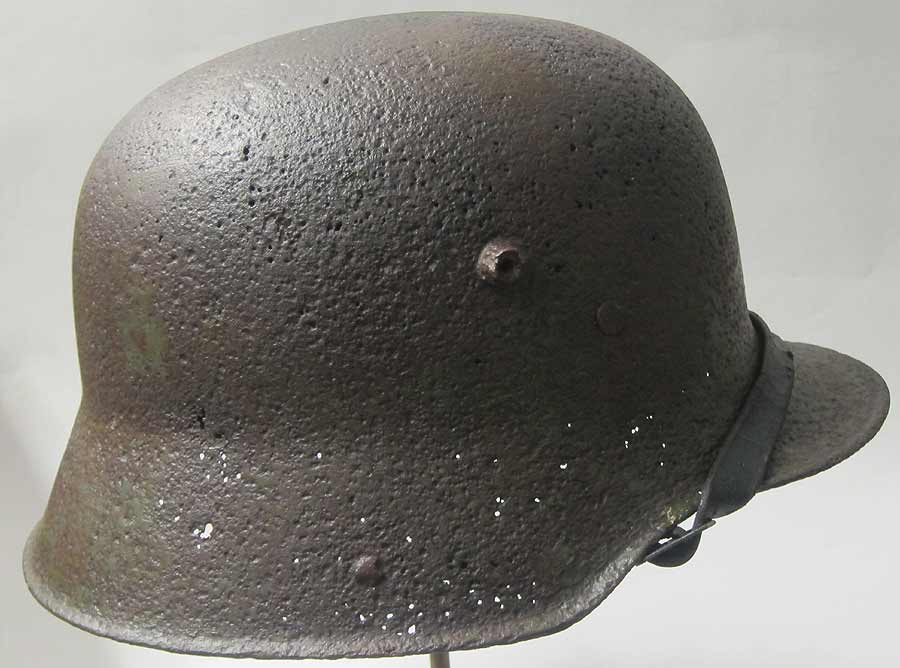
Right side of M16
|
Front view of helmet & chinstrap
|
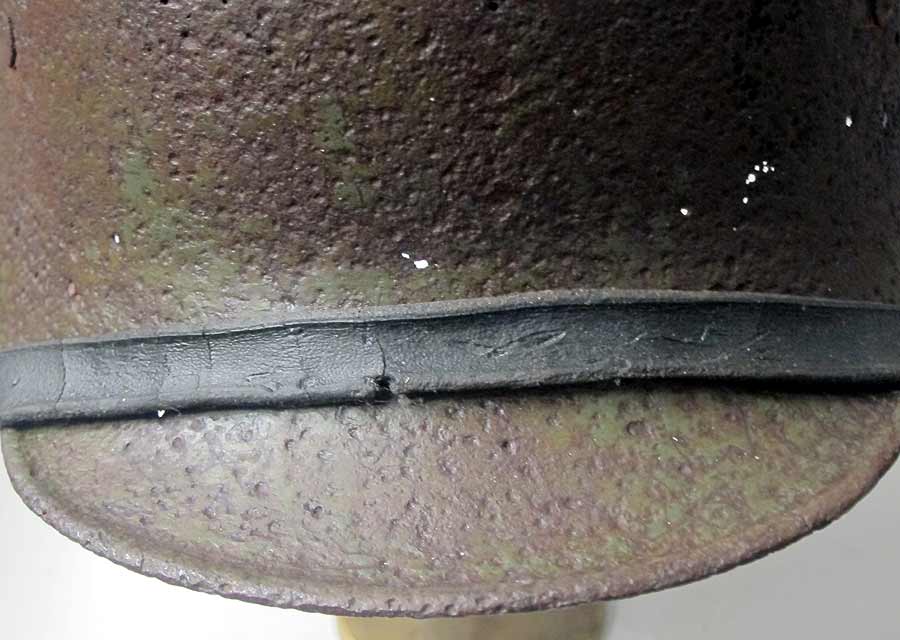
close up of M16 chinstrap
|
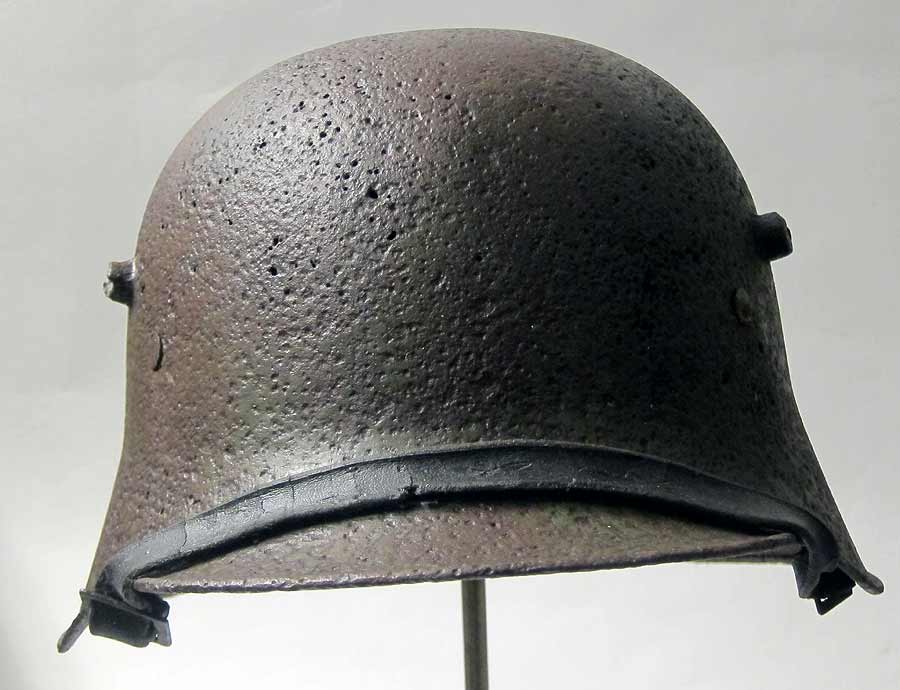
inside of helmet shell
|
close up of M16 liner
|
Liner detail
|
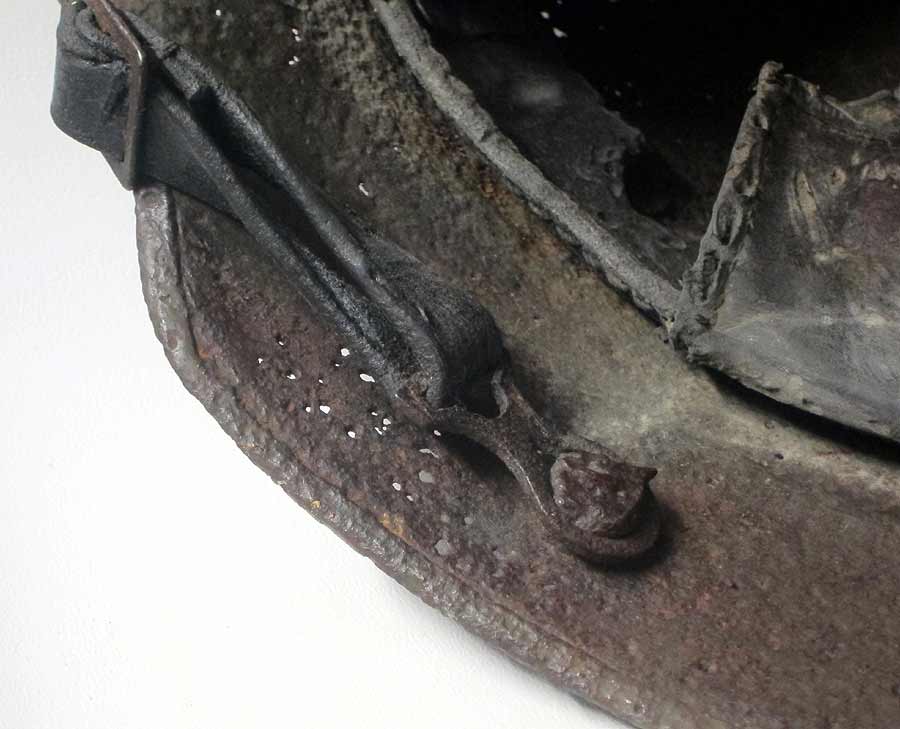
M16 Chinstrap lug
|
M16 helmet pin or rivet
|


